Today we are talking all about jamberry NAILS.First, I wanted to take a second to thank jamberry for sending me a package of some nail wraps!! That was so unbelievably nice of you guys and I SOOO appreciate it!
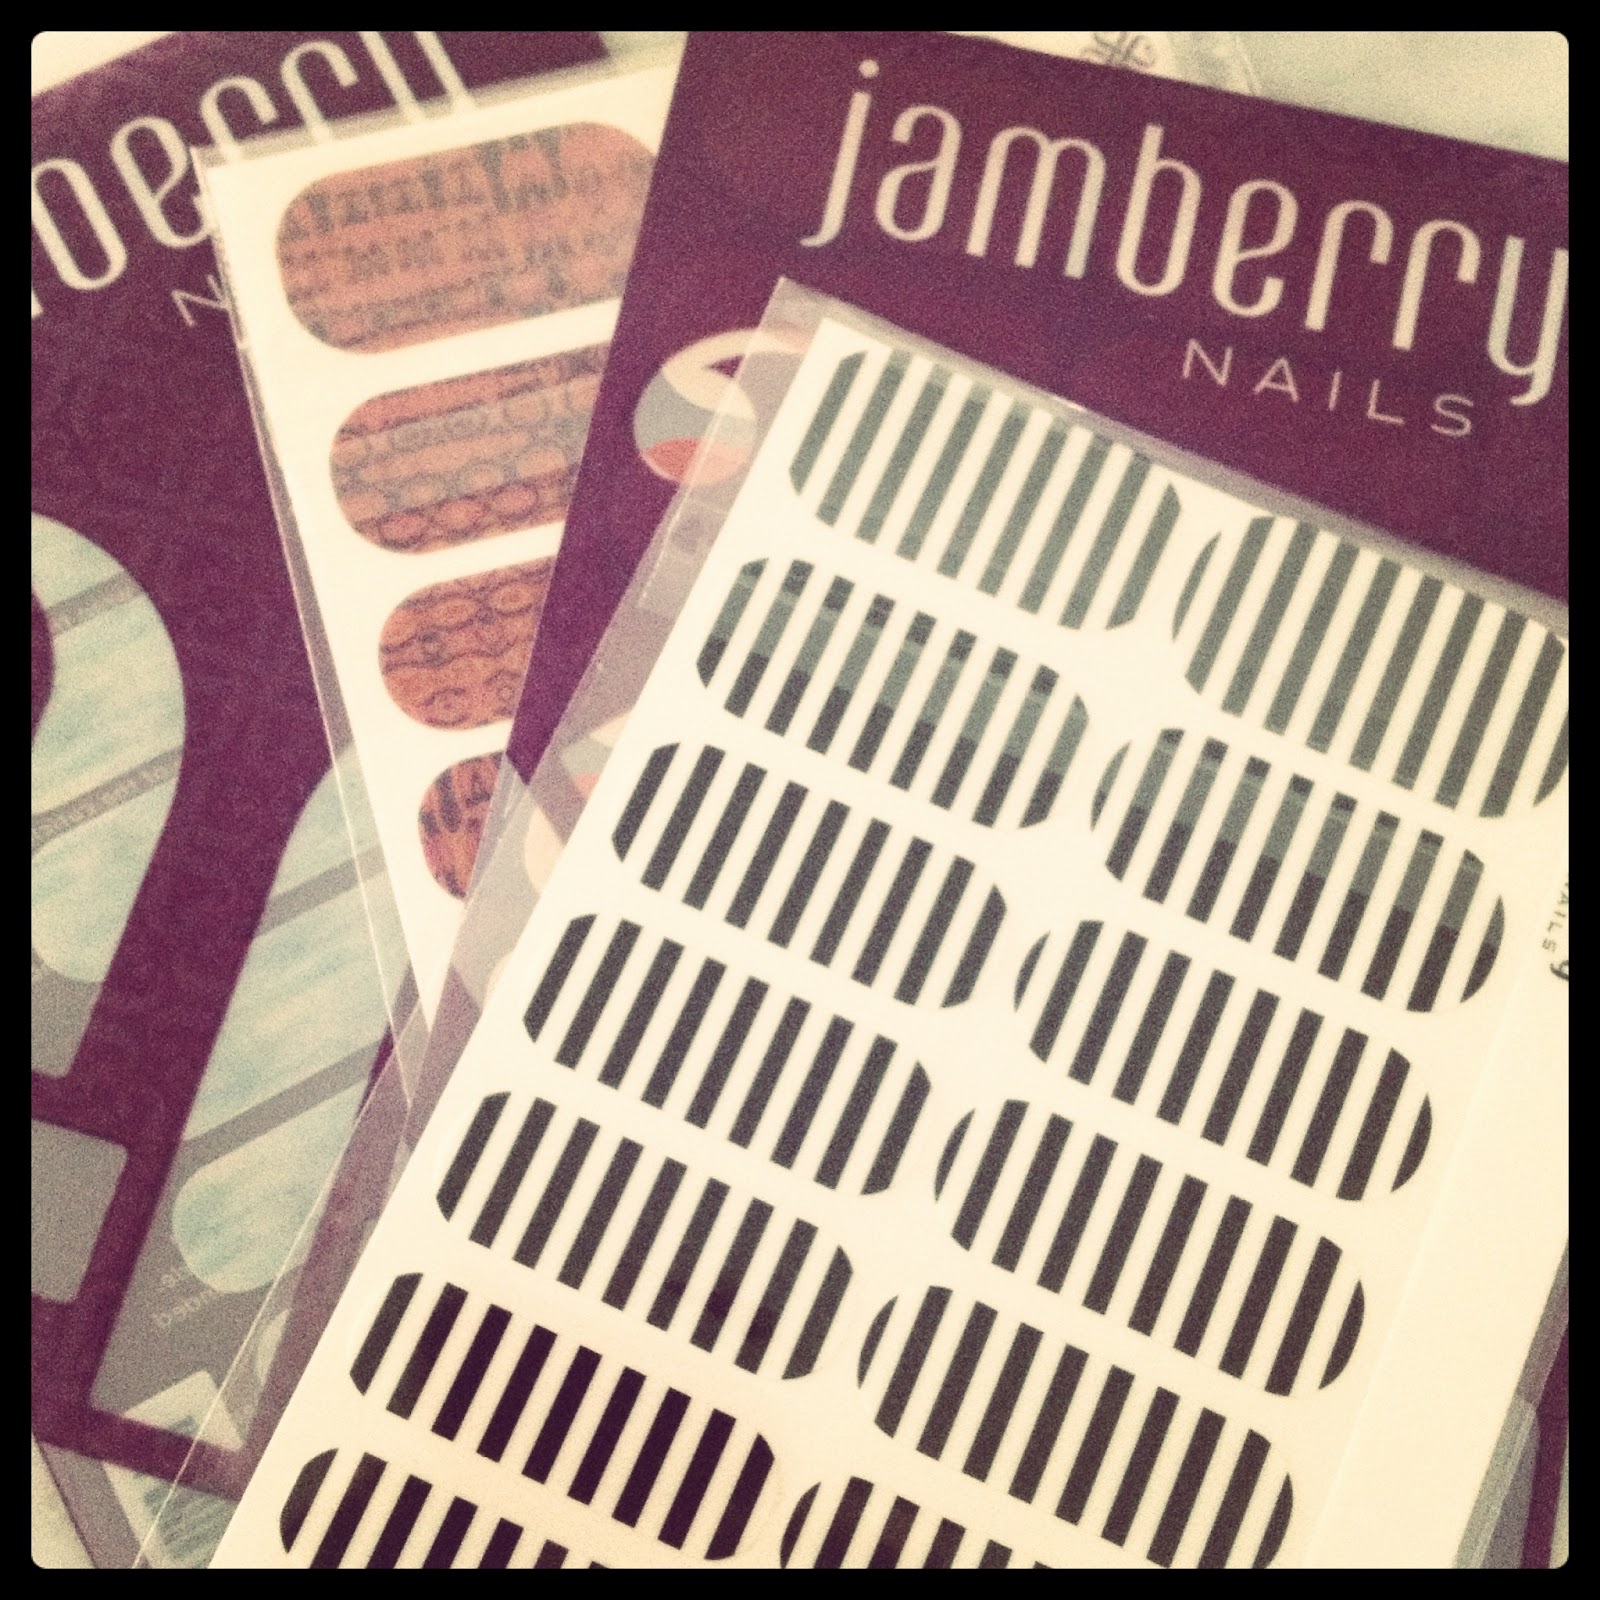
(my package from jamberry!)
So, jamberry NAILS are soo amazing guys! I swear! I'm not getting paid to say this, I don't work for the company, and in no way was I ever told what to say. This is my own honest opinion of the product. I would never lie to y'all. This product is the top of the line. I was totally freaked out about this product wondering how well this would work with my nails. My nails are soooooooo FRUSTRATING! They grow super fast, polish never stays on long, and I've had problems with nail wraps in the past (the Sally Hansen ones). NOTHING really sticks to my nails..NOT EVEN THE FLIPPING NO CHIP!!! I swear, I get a no chip manicure and then the next day, BAM, my polish is peeling! I know many people love it and it lasts for them but for whatever reason my nails are jerks and they hate it! Anyways, so I was totally like "idk, will this work, the other types of nails wraps don't work". Then I started seeing other people with them on Instagram. Hey, if it works for them maybe it will work for me. So I looked it up and found out jamberry wraps are all heat activated! I LOVE IT!! I thought that this has got to be the solution for me! This product IS going to work! AND IT DOES!!!!!!! You have no idea how excited I am. Not only does it work for my nails but, they are super easy to apply, they come in tons of awesome designs, and you can have a nail party with jamberry NAILS!! So while online looking at peoples nail wraps I found a consultant named Maggie. I loved the nail wraps she had on in her picture. I left her a comment telling her I loved her nails!! Well, we hit it off and started talking, mainly me asking questions about her nails and jamberry as a company. Now, Maggie and I have teamed up to offer an online jamberry NAILS party!! Its super easy! For a month you will be able to buy from a party that I am hosting! Its so cool that all of its done online! You don't even need to leave your house! All you have to do it click here, shop, check out, and pay! Maggie will then send you your order to your house when its ready! So to go a little more in detail, once you are finished shopping and have clicked "CHECK OUT", follow the instructions on the website until you hit the next page that will say "REVIEW ORDER". You will then see Maggie name as the consultant. Then, under that will be the word "PARTY" and an option to select who's party you are shopping with. All you need to do is click the party selection and scroll down to "LAUREN STELLATO". That's me!! Super easy! If you don't want to purchase from the party you can ALWAYS purchase straight from the jamberry website or you can purchase from Maggie here on her jamberry website without entering a party! If you have any questions you can contact Maggie directly! She is a totally amazing person, so sweet! I know I had tons of crazy questions for her and she answered all of them! Oh, also, you can get in contact with a consultant in your neighborhood by clicking here. Once you fill out a quick form a consultant will contact you. Then all you do is set a day, get a group of friends together, and have a party!!
Now down to the application of nails. Really easy. I think with anything practice makes perfect! This was my first time applying the wraps and I think they came out great. I do have a few lines in the nails but that's because I didn't do a good job of smoothing the wraps out after applying it to each nails. Basically how to achieve awesome nails is by:
these are my instructions & how I applied them. You will receive instructions from jamberry when get your order
1. prepping your nails. Remove polish, push back cuticles, and cut if desired.

2. clean your unpolished nails with a cotton ball soaked in alcohol. This cleans off any natural oils and dirty from the nail.
3.Fit your nails with the appropriate sized nails wrap. Make sure you don't go onto the skin. That will encourage the wrap to lift away from the nail.
4. Peal half the nail wrap off and cut in down the middle.

5. Apply heat via a blow-dryer to the adhesive side of the wrap until flexible. Then apply wrap to nails and firmly push to seal the wrap onto the nails. Make sure to apply pressure all the way around the base of the nail and around all the curves. You can also use a cuticle pusher to apply pressure and to smooth the wrap. jamberry suggests doing so.
6. Trim the remaining wrap with scissors or cuticle clippers. File the edge of the nail in a downward motion to remove any leftover wrap.

7. Apply a second round of heat and pressure with the blow-dryer to create a tighter bond!
This is how my finish product looked!


I know.. I have Fred Flintstone feet!

I always apply cuticle cream after I do my nails! I totally love the BURT'S BEES cuticle cream. This is always in my purse!


Shoes are from Target: Mossimo Sandal


NOW GO BUY SOME WRAPS!!!
Please Subscribe to My Blog!!!
XOXO,
LMA
No comments:
Post a Comment